
To use a WYSIWYG (What You See Is What You Get) editor with Bootstrap 5, you have a few options. Here’s a general approach:
- Choose a WYSIWYG editor: Some popular options compatible with Bootstrap 5 include:
- Summernote
- TinyMCE
- CKEditor
- Quill
- Include necessary files: Add the Bootstrap 5 CSS and JS files, as well as the files for your chosen editor.
- Initialize the editor: Use JavaScript to initialize the editor on your desired element.
<!DOCTYPE html>
<html lang="en">
<head>
    <meta charset="UTF-8">
    <meta name="viewport" content="width=device-width, initial-scale=1.0">
    <title>Bootstrap 5 WYSIWYG Editor</title>

    <!-- Bootstrap 5 CSS -->
    <link href="https://cdn.jsdelivr.net/npm/bootstrap@5.3.0/dist/css/bootstrap.min.css" rel="stylesheet">

    <!-- Summernote CSS -->
    <link href="https://cdn.jsdelivr.net/npm/summernote@0.8.18/dist/summernote-lite.min.css" rel="stylesheet">
</head>
<body>
    <div class="container mt-5">
        <textarea id="summernote"></textarea>
    </div>

    <!-- jQuery (required for Summernote) -->
    <script src="https://code.jquery.com/jquery-3.6.0.min.js"></script>

    <!-- Bootstrap 5 JS Bundle with Popper -->
    <script src="https://cdn.jsdelivr.net/npm/bootstrap@5.3.0/dist/js/bootstrap.bundle.min.js"></script>

    <!-- Summernote JS -->
    <script src="https://cdn.jsdelivr.net/npm/summernote@0.8.18/dist/summernote-lite.min.js"></script>

    <script>
        $(document).ready(function() {
            $('#summernote').summernote({
                placeholder: 'Type your content here...',
                tabsize: 2,
                height: 300
            });
        });
    </script>
</body>
</html>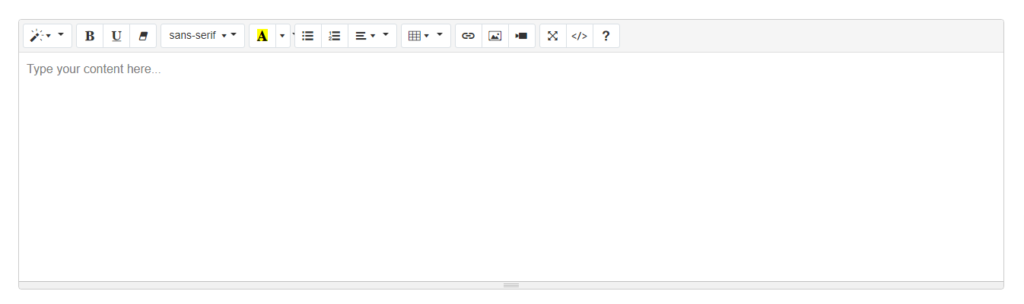
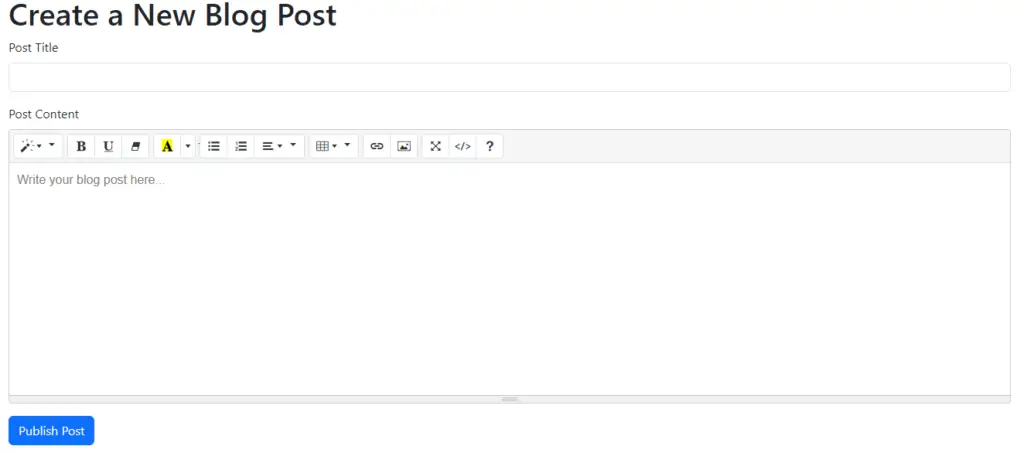
Integrating a Bootstrap 5 WYSIWYG Editor into Your Blog Application
1. Set up the basic HTML structure:
<!DOCTYPE html>
<html lang="en">
<head>
    <meta charset="UTF-8">
    <meta name="viewport" content="width=device-width, initial-scale=1.0">
    <title>My Blog - Create Post</title>

    <!-- Bootstrap 5 CSS -->
    <link href="https://cdn.jsdelivr.net/npm/bootstrap@5.3.0/dist/css/bootstrap.min.css" rel="stylesheet">

    <!-- Summernote CSS -->
    <link href="https://cdn.jsdelivr.net/npm/summernote@0.8.18/dist/summernote-lite.min.css" rel="stylesheet">
</head>
<body>
    <div class="container mt-5">
        <h1>Create a New Blog Post</h1>
        <form id="blogPostForm">
            <!-- Form fields will go here -->
        </form>
    </div>

    <!-- Scripts will go here -->
</body>
</html>
2. Add form fields for the blog post:
<form id="blogPostForm">
    <div class="mb-3">
        <label for="postTitle" class="form-label">Post Title</label>
        <input type="text" class="form-control" id="postTitle" required>
    </div>
    <div class="mb-3">
        <label for="postContent" class="form-label">Post Content</label>
        <textarea id="postContent" class="form-control" required></textarea>
    </div>
    <button type="submit" class="btn btn-primary">Publish Post</button>
</form>
3. Include necessary scripts:
<!-- jQuery (required for Summernote) -->
<script src="https://code.jquery.com/jquery-3.6.0.min.js"></script>

<!-- Bootstrap 5 JS Bundle with Popper -->
<script src="https://cdn.jsdelivr.net/npm/bootstrap@5.3.0/dist/js/bootstrap.bundle.min.js"></script>

<!-- Summernote JS -->
<script src="https://cdn.jsdelivr.net/npm/summernote@0.8.18/dist/summernote-lite.min.js"></script>

<script>
    // Our custom JavaScript will go here
</script>
4. Initialize Summernote and handle form submission:
<script>
    $(document).ready(function() {
        // Initialize Summernote
        $('#postContent').summernote({
            placeholder: 'Write your blog post here...',
            tabsize: 2,
            height: 300,
            toolbar: [
                ['style', ['style']],
                ['font', ['bold', 'underline', 'clear']],
                ['color', ['color']],
                ['para', ['ul', 'ol', 'paragraph']],
                ['table', ['table']],
                ['insert', ['link', 'picture']],
                ['view', ['fullscreen', 'codeview', 'help']]
            ]
        });

        // Handle form submission
        $('#blogPostForm').submit(function(e) {
            e.preventDefault();

            var title = $('#postTitle').val();
            var content = $('#postContent').summernote('code');

            // Here you would typically send this data to your server
            console.log('Title:', title);
            console.log('Content:', content);

            alert('Blog post submitted successfully!');
        });
    });
</script>